
How to Import 3D Models into 3ds Max with Materials
In 2025, 3D modeling continues to play a significant role in industries like architecture, interior design, and animation. Autodesk 3ds Max remains a go-to software for creating high-quality 3D visualizations. Learning how to import 3D models into 3ds Max with materials is an essential skill for professionals aiming to improve their workflow efficiency.
This guide covers the step-by-step process and offers practical tips to ensure your imported models maintain their original appearance.
Why Use 3ds Max for Importing 3D Models?
3ds Max stands out because of its advanced rendering capabilities, material editor, and compatibility with a wide variety of file formats. Whether you’re working with furniture models, architectural elements, or decorative pieces, 3ds Max ensures seamless integration of 3D assets into your projects.
At 3D Decorative, we specialize in providing high-quality 3D models and textures for the kitchen and bath industry. Many of our users rely on 3ds Max to incorporate our assets into their designs efficiently.
Step-by-Step Guide: Importing 3D Models with Materials
Step 1: Prepare Your 3D Model File
Before importing, ensure your 3D model file is compatible with 3ds Max. Common formats include:
- FBX: Preserves geometry, textures, and animations.
- OBJ: Widely used for static models with material mapping.
- 3DS: Native format for 3ds Max but less commonly used now.
- DWG: For CAD drawings.
You can find high-quality models optimized for these formats at 3D Decorative.
Step 2: Launch 3ds Max
Open 3ds Max and create a new project or open an existing one. Starting with a clean workspace ensures you can focus on the imported model.
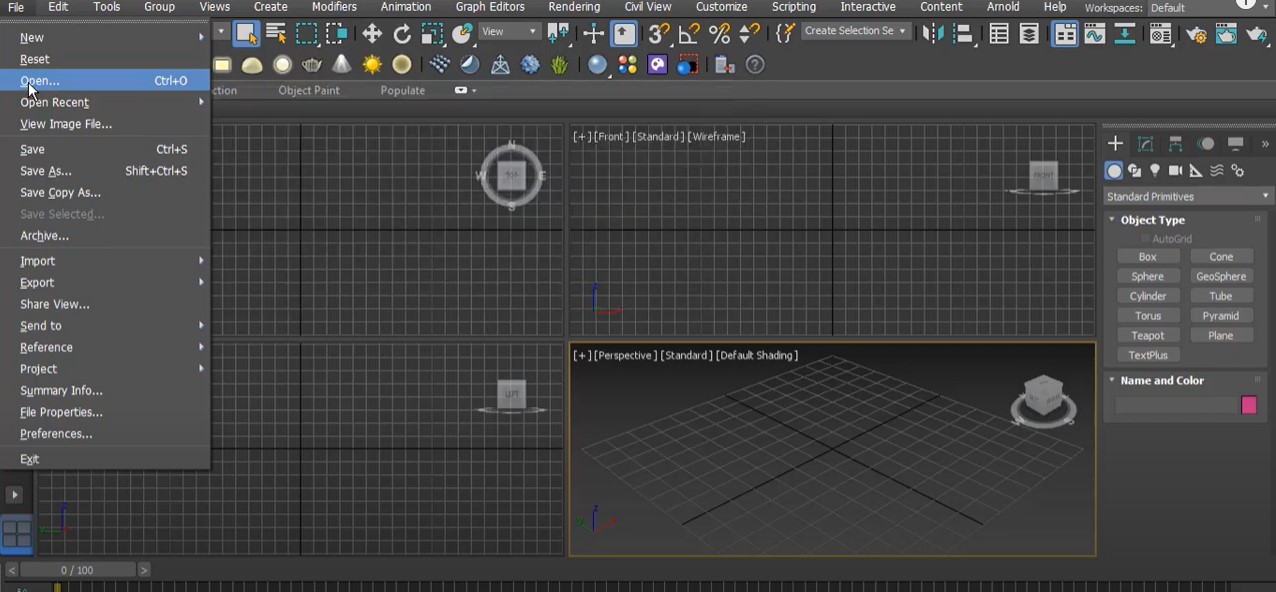
Step 3: Import the Model
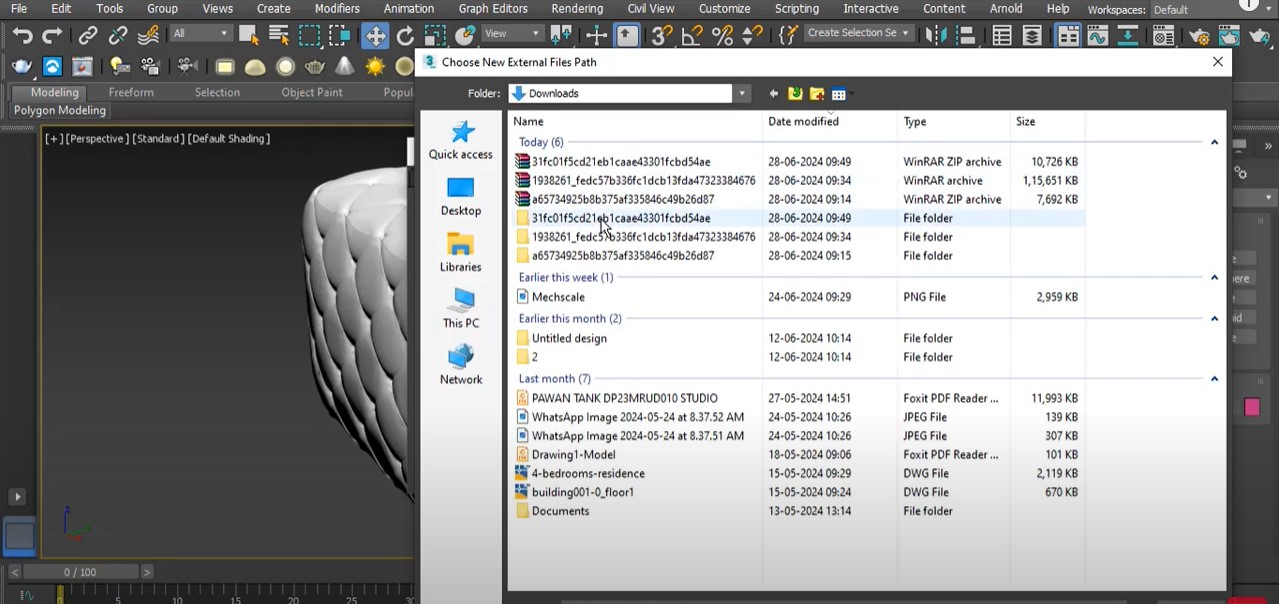
- Go to the File Menu:
- Click on File > Import > Import….
- Select Your File:
- Browse to your 3D model file.
- Choose the appropriate format (e.g., FBX, OBJ).
- Set Import Options:
- A dialog box will appear. Ensure these settings:
- Geometry: Check for smoothing groups and correct scaling.
- Materials: Enable importing of materials and textures.
- Textures: Ensure all texture files (.jpg, .png) are in the same folder as your model file.
- A dialog box will appear. Ensure these settings:
- Click OK:
- The model will be imported into the scene.
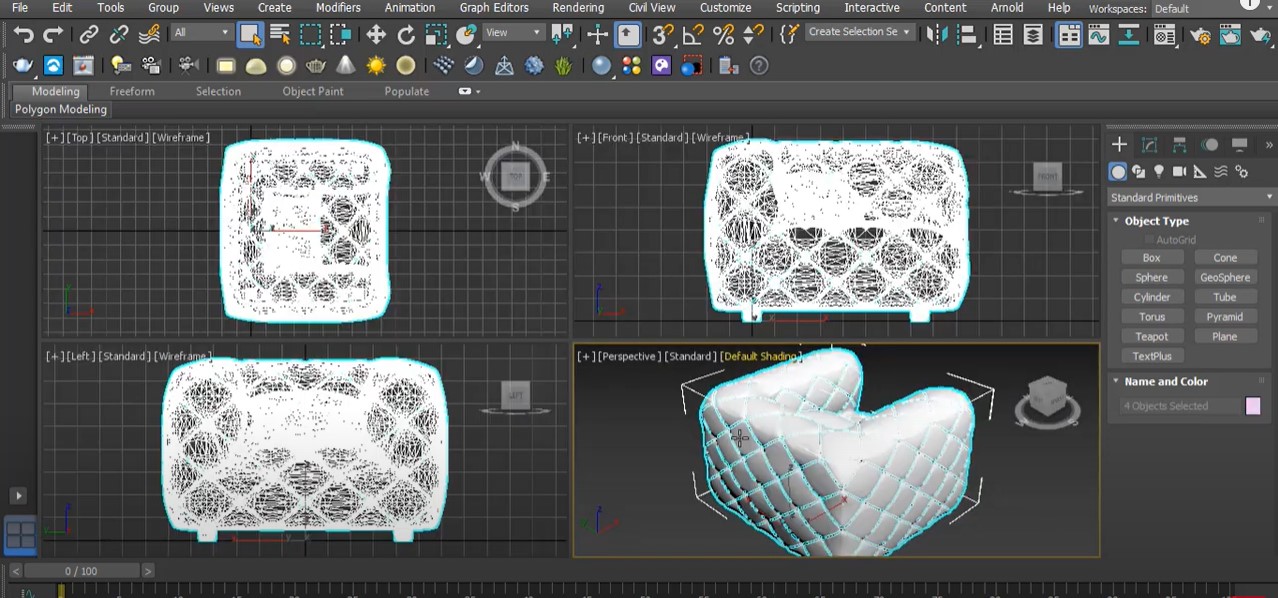
Step 4: Check Materials
Once the model is imported, check if the materials have been correctly applied:
- Open the Material Editor (Shortcut: M).
- Select a material slot and use the eyedropper tool to pick a material from your model.
- Review its properties to ensure textures and maps are correctly linked.
Step 5: Resolve Missing Textures
If the model appears without textures or materials:
- Go to the Asset Tracking dialog (Shortcut: Shift+T).
- Locate missing textures marked in red.
- Re-path the textures to their correct file locations.
Step 6: Adjust Scale and Placement
Imported models may need scaling or repositioning:
- Use the Scale tool to adjust dimensions.
- Use the Move tool to place the model in the desired location.
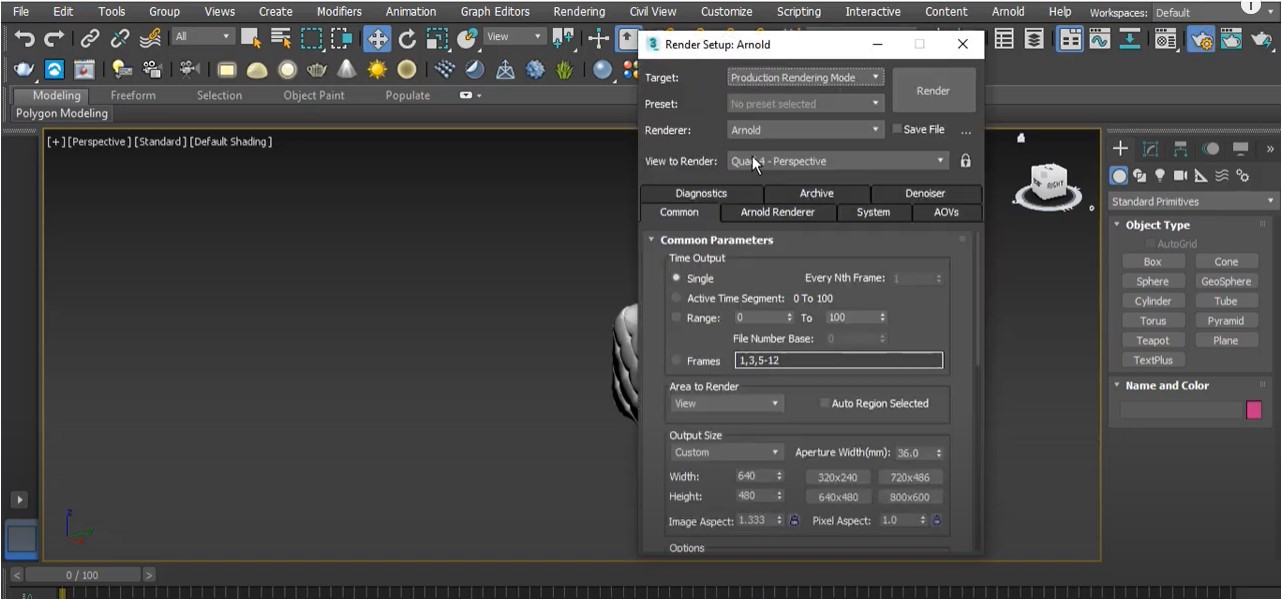
Step 7: Test Render
Before finalizing, render the scene to check if:
- Materials are displayed correctly.
- Textures have the right resolution.
- Lighting enhances the materials effectively.
Tips for a Seamless Import
1. Optimize the Model
- Reduce polygon count for faster rendering.
- Avoid overly complex geometry unless necessary.
2. Use Correct Units
- Ensure the model’s units match your 3ds Max scene settings to avoid scaling issues.
- Go to Customize > Units Setup to adjust units.
3. Group Components
- Group related elements of the model to maintain their alignment during movement or scaling.
- Use Group > Group in the main toolbar.
4. Test Before Import
- Preview the model in its native software to confirm all materials and textures are intact before importing into 3ds Max.
How 3D Decorative Simplifies Your Workflow
At 3D Decorative, we offer:
- High-quality 3D models: Ready-to-use assets compatible with 3ds Max.
- Material-rich textures: Optimized for realistic rendering.
- Support for designers and architects: Tutorials, guides, and tips to enhance productivity.
Our extensive library includes everything from kitchen faucets to decorative elements, making it easier to create stunning designs with minimal effort.
Conclusion
Importing 3D models into 3ds Max with materials is straightforward when you follow the correct steps. By mastering this skill, you can save time, enhance your workflow, and produce visually stunning designs. At 3D Decorative, we’re committed to supporting your creative journey with premium 3D assets and resources.
For a detailed walkthrough, check out our service and contact us with our team to complement this guide. Start importing and elevate your 3D projects today!

